

This article will take you through how to reverse sear a steak in a Pro Q, a type of smoker typically known as a bullet smoker due to its shape. We will also cover off on some of the theory behind the reverse sear and why it is such a great option for cooking that perfect steak.
If you don’t have a Pro Q you should still gain an understanding of the concept of reverse searing and how you might be able to achieve that on your set up. This would also work for other styles of bullet smoker such as fornetto razzo and basso.
Reverse sear is a process by which you slowly bring your steak (or other cut of meat) up to your desired doneness via low indirect heat. This is then followed by searing over high direct heat to facilitate the Maillard reaction – aka that yummy crunchy stuff on the outside.
You can achieve this a number of different ways including the oven or sous vide but in my opinion a charcoal barbecue is king because you get added smoke flavour while still achieving perfect edge to edge doneness.
Why would you want to cook your steak this way? For larger steaks in particular, grilling solely over direct heat can result in uneven doneness throughout, with the outer edges being well done, the centre being rare and some patches of medium between all of that.
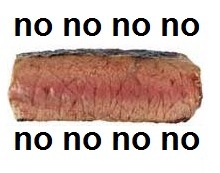
Don’t be like the no steak
In addition to this, cooking at a high heat your internal temperature is increasing rapidly making it easier to overshoot your desired result.
By slowly bringing your steak to your desired doneness you can achieve a much more even cook throughout.
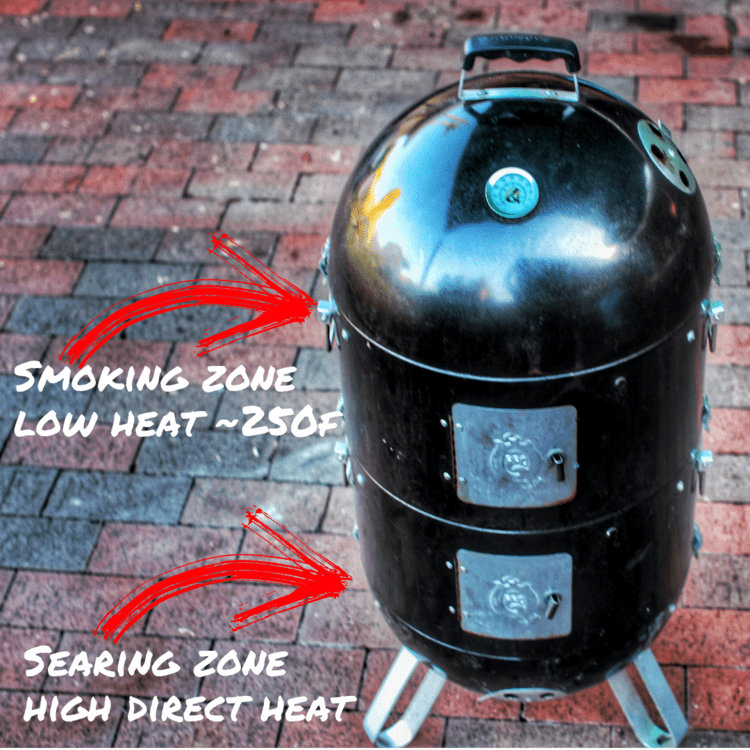
The Pro Q is one of the best tools for the job when it comes to the reverse sear as you have the ability to create a low temperature zone up top for smoking your steak until it gets to temp, then remove the stackers and grill directly over the charcoal.
Set your bullet smoker up for minion method (if you’re unsure what that means check out this article)
I typically run at around 250f for reverse sear but you could get away with anywhere from 225f – 300f without any dramas.
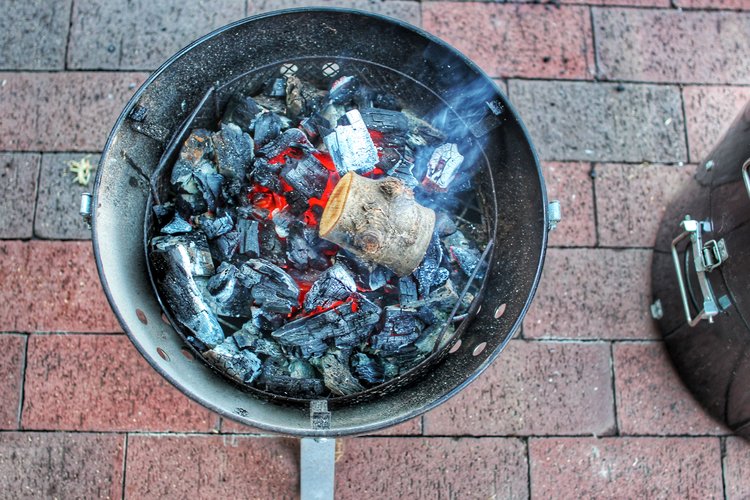
For our fuel choice lump charcoal is king as we are going to be finishing off with direct grilling.
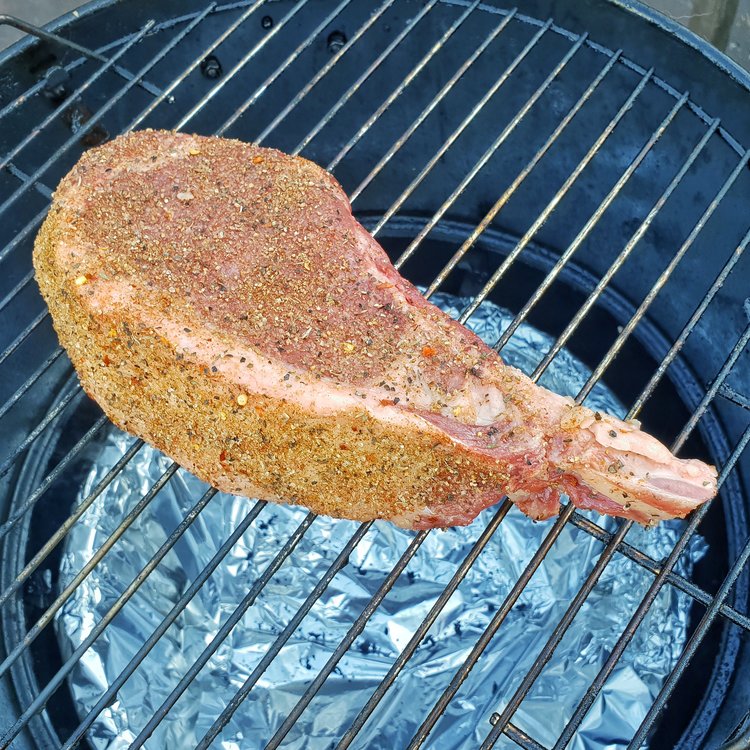
Time to prep your steak. For this beautiful 916gram ribeye I decided to trial a steak rub I had just been sent, Feedlot – Cattle Call. Salt and pepper or your preferred beef rub would also suit.
Once your Pro Q is sitting around 250f (121c) put the ribeye on the top shelf and away you go.
For reverse sear we don’t cook for a set amount of time, we cook until it gets to our desired internal temperature.
Medium rare was the goal for this ribeye, which is 130f / 55c, however as we will be searing the steak over high heat to finish we want to leave ourselves a gap of around 10f / 5c as it will rise a little during this final step.
This cook took 70 minutes to get to 120f internal temperature – as with all barbecue, your mileage will vary.
A note on doneness: even when researching what is considered the standard for rare, medium rare etc I came across a variety of internal temperatures. Find out what works for you.
Once your ribeye has reached an internal temperature of 120f (49c) take it off and let it rest while you get your coals up to temp.
Resting isn’t necessary when reverse searing due to the low cooking temperature, however it will happily sit for 10-15 minutes while we get ready.
Remove the lid and the two stackers and place a grill on the bottom section of the Pro Q.
You want the charcoal to be HOT, if you hold your hand roughly where the steak is going it should be uncomfortable to hold it there longer than a second or two (don’t touch the grill, dummy). If this means you need to add some more charcoal then do so at this point.
I used my Flaming Coals wand to get extra oxygen into the basket and get those coals pumping.
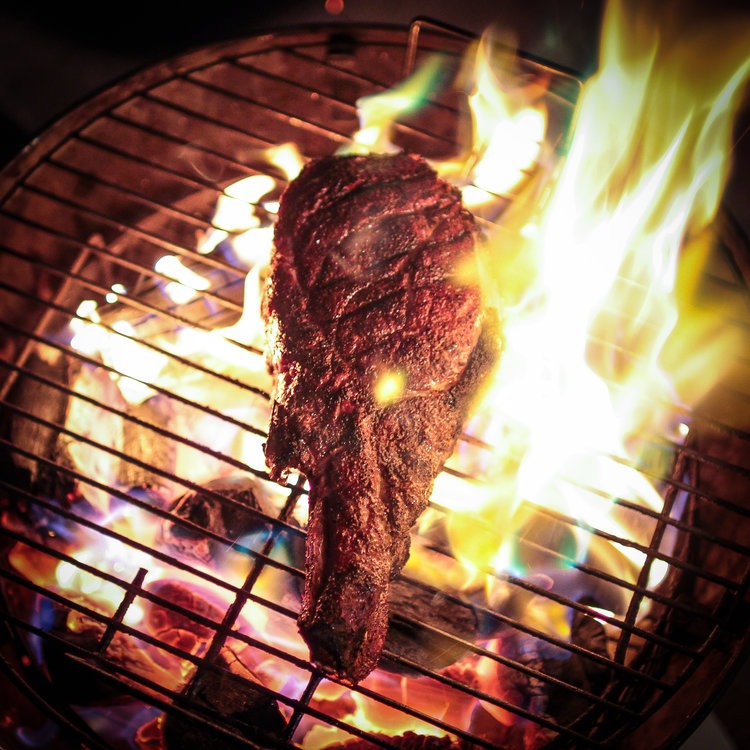
Once hot it’s time to sear your steak – this process is not about cooking but simply getting the colour and crunch (dat maillard reaction) that you’re happy with on the outside. Keep it moving and don’t take too long, we don’t want gross half well done and half pink on the middle steak; we want perfection.
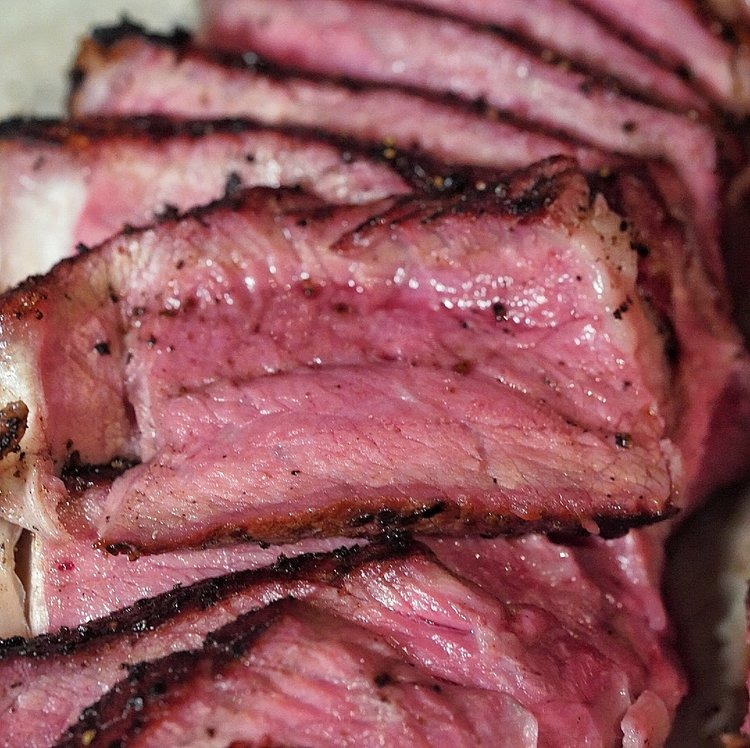
And that, my friends, is why we reverse sear – edge to edge perfection.
Let me know what you think – if you have any questions or ideas you want to talk about in relation to the reverse sear.
Feedback is also appreciated – I definitely said “doneness” way more times than I’m comfortable with in this article!